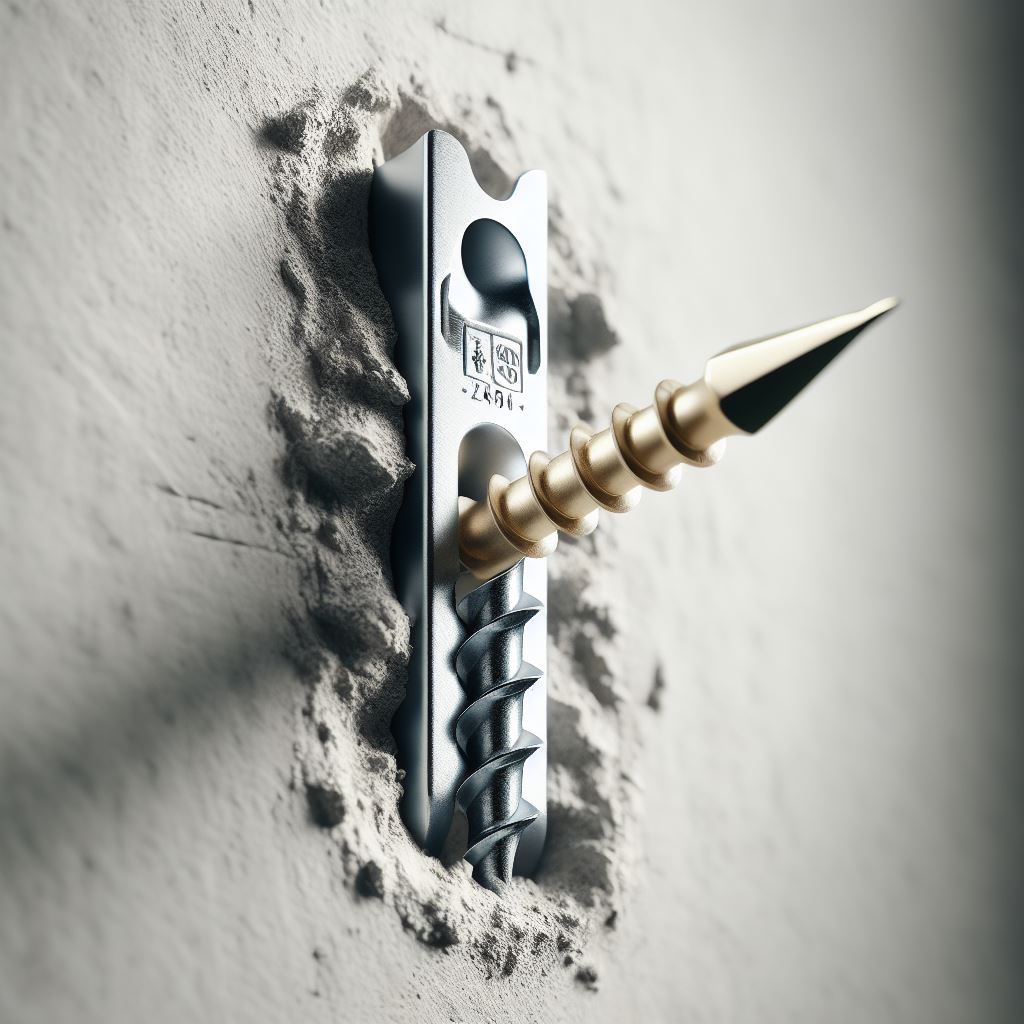
Elephant Anchor

Mounting TV to Metal Studs

Are you considering mounting your TV to metal studs but feeling a bit apprehensive about the process? Fear not! In this detailed guide, we’ll walk you through every step of the way, ensuring a secure and successful TV mounting experience. Let’s delve into the intricacies of mounting your TV to metal studs and discover the do’s and don’ts that will make your DIY project a breeze.

Understanding Metal Studs

Before we jump into the mounting process, let’s familiarize ourselves with metal studs. Unlike traditional wooden studs, metal studs are lighter, thinner, and can pose unique challenges when it comes to mounting heavy objects like TVs. However, with the right approach, you can achieve a robust and secure installation.

Tools and Materials

Stud Finder:

Invest in a high-quality stud finder to locate the metal studs behind your drywall accurately.

TV Mounting Bracket:

Choose a sturdy and compatible TV mounting bracket that suits your TV’s size and weight.

Screws:

Opt for screws specifically designed for metal stud mounting. These screws are typically self-tapping and have a fine thread to grip the metal studs securely.

Drill:

A power drill with adjustable torque settings will be essential for drilling into metal studs.

Level:

Ensure your TV is perfectly level by using a bubble level during the installation.

The Step-by-Step Process

Step 1: Locate the Metal Studs

Use a reliable stud finder to locate the metal studs behind your drywall. Mark their positions with a pencil, ensuring accuracy for a secure mount.

Step 2: Choose the Right Mounting Bracket

Select a TV mounting bracket that not only fits your TV’s dimensions but is also compatible with metal stud mounting. Some brackets come with specific instructions for metal stud installations.

Step 3: Pre-Drilling Pilot Holes

Using the marked stud locations, pre-drill pilot holes into the metal studs. Ensure that your drill bit is appropriate for metal, and the holes are slightly smaller than the diameter of the screws.

Step 4: Attach the Mounting Bracket

Securely attach the mounting bracket to the metal studs using the self-tapping screws provided with the bracket. Use a level to confirm that the bracket is perfectly horizontal.

Step 5: Mounting the TV

With the bracket securely in place, it’s time to mount your TV. Follow the manufacturer’s instructions for your specific TV model. Enlist the help of a friend to lift and hold the TV while you secure it to the bracket.

Step 6: Double-Check and Adjust

Ensure that your TV is level and securely attached to the mounting bracket. Make any necessary adjustments to achieve the desired alignment.

What NOT to Do

Avoid Overloading:

Metal studs have weight limitations. Ensure that your TV and mounting bracket do not exceed the recommended weight capacity for the metal studs.

Skip Stud Finding:

Never skip using a stud finder. Mounting to the drywall alone can result in an insecure installation, risking damage to your TV and the wall.

Incorrect Screws:

Using the wrong type of screws can compromise the integrity of the installation. Always use screws specifically designed for metal stud mounting.

Neglecting Leveling:

A level TV not only looks better but also ensures proper weight distribution. Neglecting leveling can lead to stress on the mounting points.

Ignoring Manufacturer Guidelines:

Always follow the guidelines provided by the TV and mounting bracket manufacturers. Ignoring these instructions can lead to unsafe mounting.

Conclusion

Mastering the art of mounting your TV to metal studs requires attention to detail and adherence to best practices. By following this comprehensive guide and understanding the do’s and don’ts, you’ll embark on a successful journey to create a secure and aesthetically pleasing TV setup. Elevate your viewing experience with confidence, knowing your TV is mounted to metal studs with precision and care. Happy mounting!


Leave a Reply

Your email address will not be published. Required fields are marked *