Can you mount a tv on drywall?
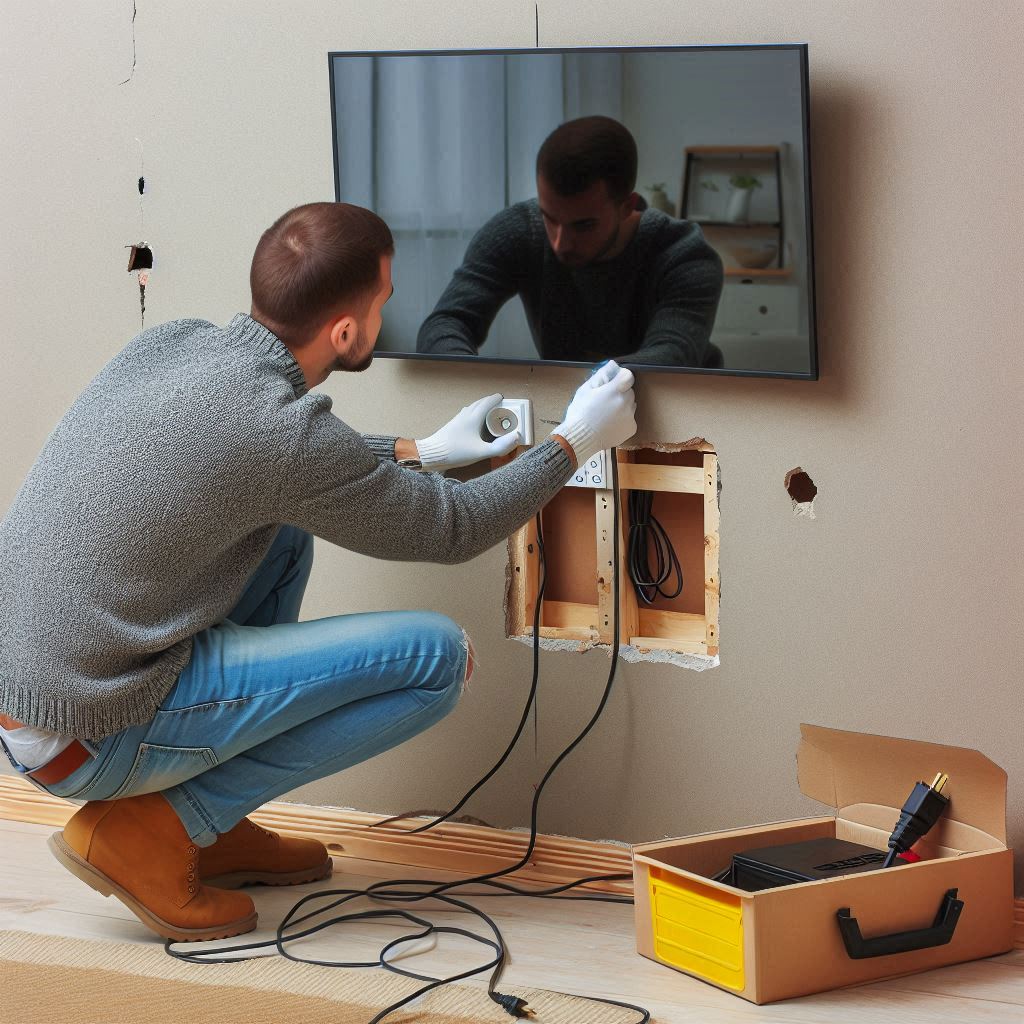
Explore the modern elegance of mounting a TV on drywall—saving space, enhancing aesthetics. But beware, weight limits and installation intricacies may play a role. Choose wisely, install securely, and enjoy a sleek, space-saving entertainment hub!