
Mounting TV on Drywall | Tips and Tricks
Mounting a TV on drywall can transform your living space, offering a clean, modern look while freeing up floor space. However, achieving a secure and stable installation can be challenging if you’re not familiar with the process. This comprehensive guide will provide you with tips and tricks to mount your TV on drywall effectively, ensuring a safe and aesthetically pleasing result.
Why Mount Your TV on Drywall?
Before diving into the technicalities, it’s essential to understand the benefits of wall-mounting your TV:
- Space-Saving: Wall mounting frees up valuable floor space, allowing for a more organized and spacious room.
- Aesthetics: A wall-mounted TV offers a sleek and modern look, enhancing your room’s decor.
- Viewing Experience: Proper placement improves your viewing experience by positioning the TV at the optimal height and angle.
- Safety: Wall mounting reduces the risk of the TV being knocked over, especially in homes with children or pets.
Essential Tools and Materials
To mount your TV on drywall, you’ll need the following tools and materials:
- TV wall mount bracket
- Stud finder
- Drill and appropriate drill bits
- Screwdriver or power drill with screwdriver attachment
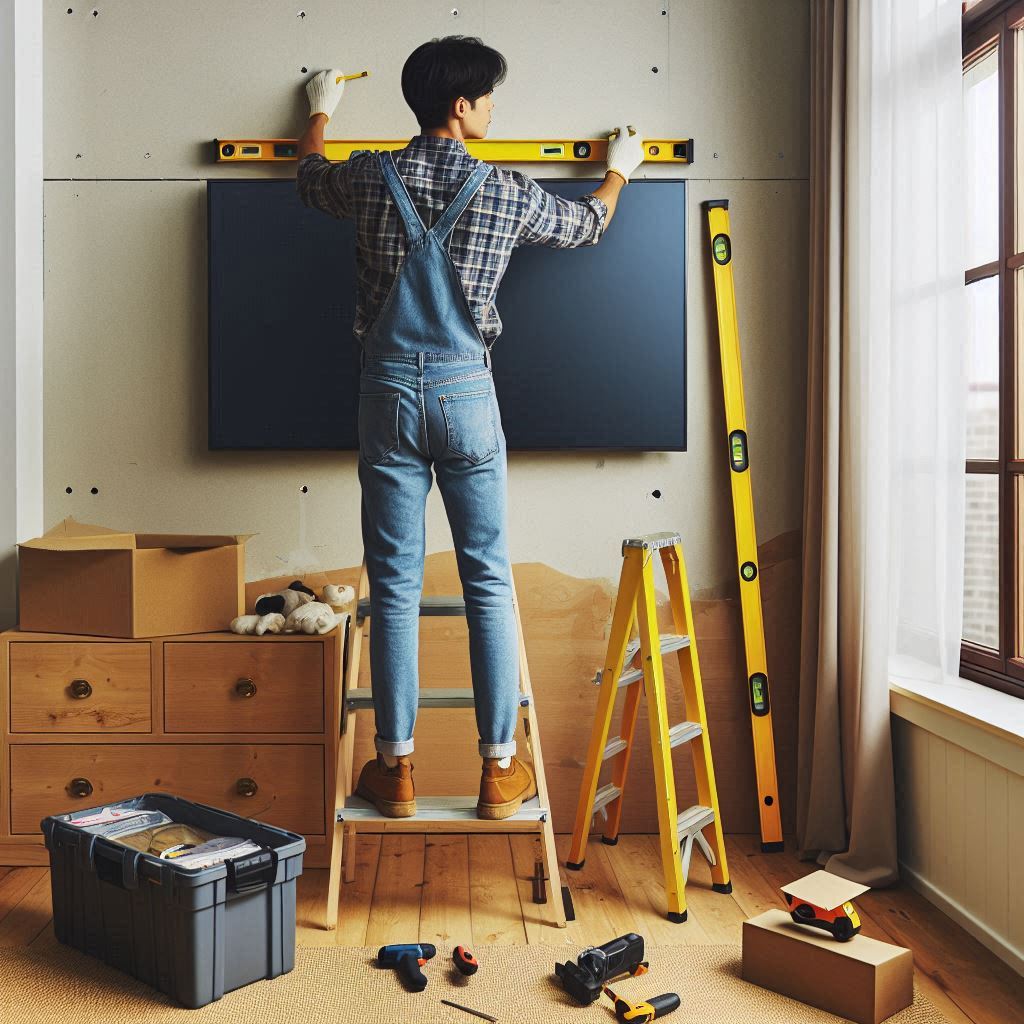
- Level
- Measuring tape
- Pencil
- Anchors (drywall or toggle bolts, depending on the weight of your TV)
- Screws (typically provided with the wall mount bracket)
- Cable management system (optional, for a clean look)
Step-by-Step Guide to Mounting Your TV on Drywall
Step 1: Choose the Right Wall Mount Bracket
Selecting the right wall mount bracket is crucial. There are three main types:
Fixed Mounts: These hold the TV flat against the wall and are the most straightforward to install. Ideal for rooms where you always watch TV from the same spot.
Tilt Mounts: These allow you to tilt the TV up or down, which can be useful if you need to mount the TV higher than usual.
Full-Motion Mounts: These offer the most flexibility, allowing you to swivel the TV left, right, up, and down.
Ensure the mount is compatible with your TV’s size and weight. The VESA (Video Electronics Standards Association) pattern on the back of your TV will determine compatibility.
Step 2: Locate the Studs
Using a stud finder, locate the studs in the wall. Studs are the vertical wooden beams that provide the best support for your TV. Mark the edges of each stud with a pencil to determine their centers. Ideally, you’ll mount the TV bracket to two studs for maximum stability.
Step 3: Mark the Mounting Holes
Hold the wall mount bracket against the wall, aligning it with the stud marks. Use a level to ensure it’s straight. Mark the screw holes with a pencil. Double-check the height and placement to ensure the TV will be at a comfortable viewing height.
Step 4: Drill Pilot Holes
Drill pilot holes at the marked locations. Pilot holes make it easier to insert the screws and reduce the risk of splitting the studs. Use a drill bit slightly smaller than the screws you’ll be using.
Step 5: Attach the Wall Mount Bracket
Secure the wall mount bracket to the wall using the provided screws. If your mount requires bolts or other fasteners, make sure they are tightened firmly. The bracket should feel solid and secure.
Step 6: Attach the Mounting Plate to the TV
Most wall mount kits come with a mounting plate that attaches to the back of the TV. Follow the manufacturer’s instructions to secure the plate to your TV. Ensure it’s firmly attached and the screws are tight.
Step 7: Mount the TV
With the help of another person, lift the TV and align the mounting plate with the wall bracket. Secure the TV to the bracket according to the manufacturer’s instructions. Double-check that the TV is securely attached and level.
Step 8: Cable Management
For a clean look, use a cable management system to hide the wires. You can use cable covers that attach to the wall or route the cables through the wall if possible. This step enhances the overall appearance and safety by preventing tripping hazards.
Tips and Tricks for a Successful TV Mounting
Tip 1: Use the Right Anchors
If you cannot find studs or need to mount the TV in a specific location, use high-quality drywall anchors. Toggle bolts are particularly effective for heavy TVs, as they provide strong support by spreading the load across a larger area of the drywall.
Tip 2: Check the Wall’s Weight Capacity
Before mounting, ensure the wall and chosen mounting location can support the TV’s weight. Refer to the manufacturer’s specifications for both the TV and the wall mount bracket. Overloading the wall can lead to damage and potential hazards.
Tip 3: Consider the Viewing Angle
Mount the TV at a height and angle that provides a comfortable viewing experience. A good rule of thumb is to place the center of the screen at eye level when seated. If mounting in a bedroom, consider a tilt mount to adjust the angle for comfortable viewing from the bed.
Tip 4: Avoid Heat Sources
Avoid mounting your TV above heat sources like fireplaces or radiators. Heat can damage the TV’s internal components over time. If you must mount above a fireplace, ensure there’s adequate clearance and ventilation.
Tip 5: Plan for Cable Management
Think about cable management before you start drilling holes. Plan where your cables will go and consider investing in a cable management system. Hiding cables not only looks better but also prevents potential damage and accidents.
Tip 6: Test the Mounting Height
Before drilling any holes, test the mounting height by holding the TV at the desired height and marking it. Sit in your usual viewing spot to ensure the height is comfortable. This step can save you from having to re-mount the TV if the initial height is off.
Tip 7: Use a Template
Many wall mount kits come with a paper template to help mark the drilling holes accurately. If yours does not, consider making one yourself. A template ensures precise alignment and reduces the risk of mistakes.
Tip 8: Get Help
Mounting a TV can be a two-person job, especially for larger screens. Having an extra pair of hands can make the process smoother and safer. Don’t hesitate to ask for help.
Troubleshooting Common Issues
Issue 1: TV Feels Loose on the Mount
If your TV feels loose or wobbly, double-check all the screws and bolts. Ensure they are tightened securely. If you’re using drywall anchors, make sure they are installed correctly and can support the weight.
Issue 2: TV is Not Level
If your TV isn’t level, use the adjustment screws on the wall mount bracket (if available) to correct the angle. Alternatively, you may need to re-drill the pilot holes slightly higher or lower to achieve a level mount.
Issue 3: Cables are Visible
If you notice visible cables, consider using cable covers or a cable management system. These can be painted to match your wall color, creating a seamless look.
Issue 4: TV is Too High or Low
If the TV is mounted at an uncomfortable height, you may need to re-evaluate the placement and re-mount it. Ensure the center of the TV is at eye level when seated for the best viewing experience.
Conclusion
Mounting a TV on drywall can enhance your living space, offering a clean, modern look and optimal viewing experience. By following the steps outlined in this guide and using the provided tips and tricks, you can achieve a secure and aesthetically pleasing installation. Remember to choose the right wall mount bracket, locate the studs or use appropriate anchors, and plan for cable management to ensure a successful project. With a little preparation and care, you’ll enjoy your wall-mounted TV for years to come.