
Is it OK to Cut Through Drywall?
Cutting through drywall is often necessary for various home improvement projects, whether you’re running new electrical wires, installing plumbing, or mounting heavy objects like TVs or shelves. However, many homeowners and DIY enthusiasts may wonder about the implications of cutting through drywall and how to properly patch it afterward. In this blog post, we’ll explore when it’s appropriate to cut through drywall, potential risks, and detailed steps on how to patch a hole made in drywall.
Cutting through drywall is acceptable when it’s part of necessary renovations or installations. Common scenarios include:
Before cutting into drywall, ensure you take the following safety precautions:
Structural Integrity
Cutting through drywall can compromise the structural integrity of your wall if not done correctly. Always avoid cutting through studs, as they provide essential support for the wall.
Hidden Hazards
There could be hidden hazards behind your drywall, such as electrical wires, plumbing pipes, or gas lines. Damaging these can lead to serious safety issues, including electrical shocks, water damage, or gas leaks.
Dust and Debris
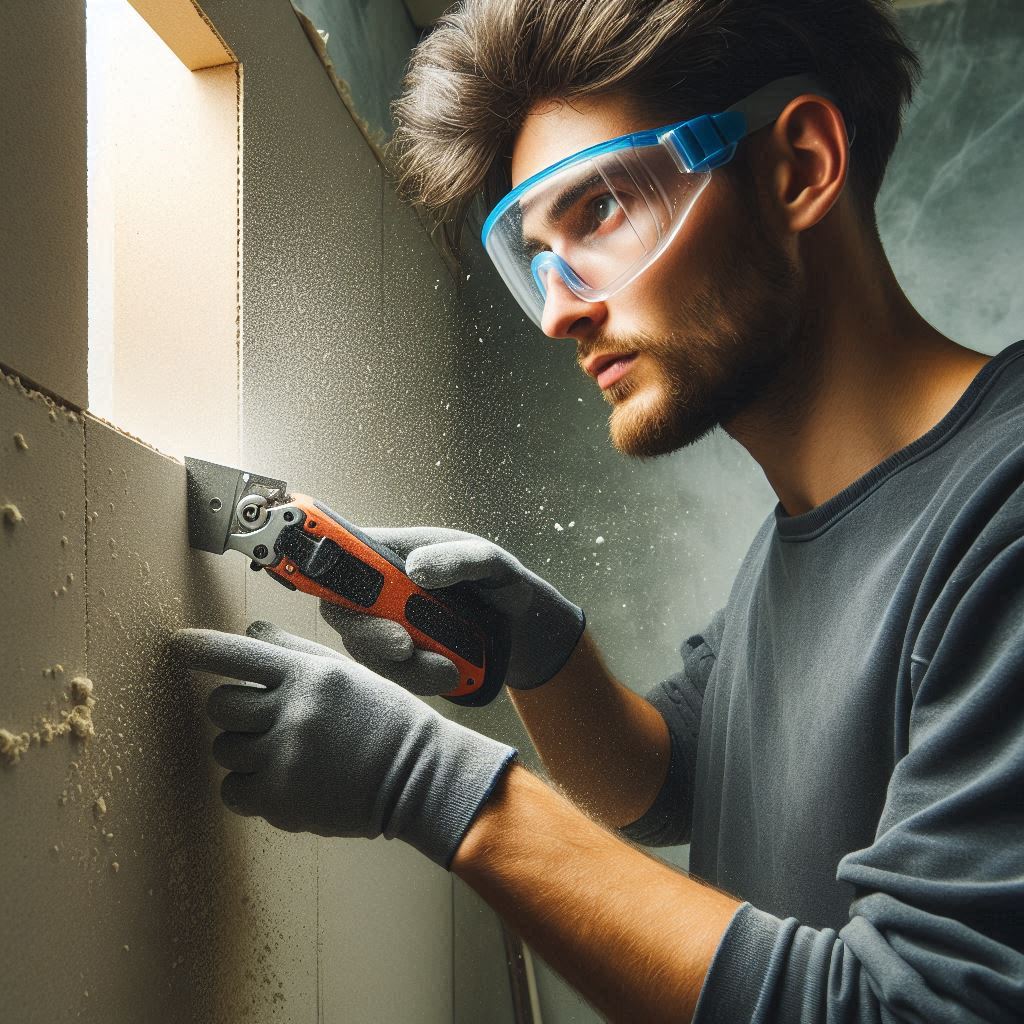
Cutting drywall creates dust and debris, which can be harmful if inhaled. Always wear protective gear like a dust mask and safety glasses, and ensure proper ventilation in the workspace.
Patching a hole in drywall is a straightforward process that can restore the appearance and integrity of your wall. Follow these steps to achieve a seamless repair:
Materials Needed
1. Prepare the Area
Clean the Hole: Use a utility knife to clean up the edges of the hole, removing any loose or damaged drywall.
Measure the Hole: Measure the size of the hole to determine the size of the patch needed.
2. Cut the Patch
Drywall Patch: For small holes (less than 6 inches), you can use a pre-made drywall patch. For larger holes, cut a piece of scrap drywall slightly larger than the hole.
Fit the Patch: Place the patch over the hole and trace its outline on the wall. Cut along the traced lines using a drywall saw or utility knife to create a clean opening.
3. Install the Patch
Attach the Patch: Insert the drywall patch into the hole. If using a pre-made patch, it will have adhesive backing; press it firmly into place. For larger patches, use drywall screws to secure the patch to the studs behind the wall.
4. Apply Drywall Tape
Cover Seams: Place drywall tape over the seams between the patch and the existing drywall. Mesh tape is easier to work with for beginners, while paper tape provides a stronger bond.
5. Apply Joint Compound
First Coat: Apply a thin layer of joint compound over the tape and the patch using a putty knife. Feather the edges to blend with the surrounding wall. Allow it to dry completely.
Second Coat: Apply a second coat of joint compound, extending slightly beyond the first coat. Smooth it out and let it dry.
6. Sand and Smooth
Sand the Area: Once the joint compound is dry, use a sanding sponge or sandpaper to smooth the surface. Be gentle to avoid damaging the patch.
Check for Smoothness: Run your hand over the patched area to ensure it’s smooth and flush with the wall.
7. Prime and Paint
Prime the Patch: Apply a coat of primer to the patched area to seal it and prepare it for painting.
Paint the Wall: Once the primer is dry, paint over the patched area to match the rest of the wall. Depending on the color, you may need multiple coats for full coverage.
Feathering the Edges
When applying joint compound, feather the edges to blend seamlessly with the surrounding wall. This minimizes the visibility of the repair.
Sanding Between Coats
Lightly sanding between coats of joint compound ensures a smooth finish. Use fine-grit sandpaper and avoid applying too much pressure.
Matching Paint
Use leftover paint from the original job or take a paint sample to a hardware store to match the color. This ensures the patched area blends with the rest of the wall.
Cutting through drywall is a common part of many home improvement projects and is generally safe when done with proper precautions. Understanding the risks and taking steps to avoid them is crucial. Additionally, knowing how to patch a hole in drywall is a valuable skill for any homeowner or DIY enthusiast. By following the detailed steps outlined above, you can achieve a professional-looking repair and maintain the integrity and appearance of your walls.
Mounting a TV without a stud finder may seem daunting, but with the right tools and techniques, it's entirely possible. In this guide, we'll explore alternative methods like toggle bolts and anchors to securely mount your TV. Let's dive in!
Struggling to mount your TV securely on metal studs? Enter Elephant Anchor Metal Stud Mounting Kits – the ultimate solution for hassle-free TV mounting. Engineered for strength, durability, and easy installation, our mounting kits provide a secure foundation for your TV, giving you peace of mind and confidence in your installation. Say goodbye to wobbly mounts and hello to stability – choose Elephant Anchor and transform your TV mounting experience today. Visit our website to learn more.
Fixing a wall anchor that’s not holding can be simple with the right steps. Start by assessing the problem—whether it’s the wrong anchor, overloading, improper installation, or a damaged anchor. Remove the failed anchor and repair the hole if necessary. Choose the right anchor for your wall type and the weight of the item you're mounting, then reinstall it properly. Follow these steps to ensure a secure and lasting hold for your projects and prevent future anchor failures.