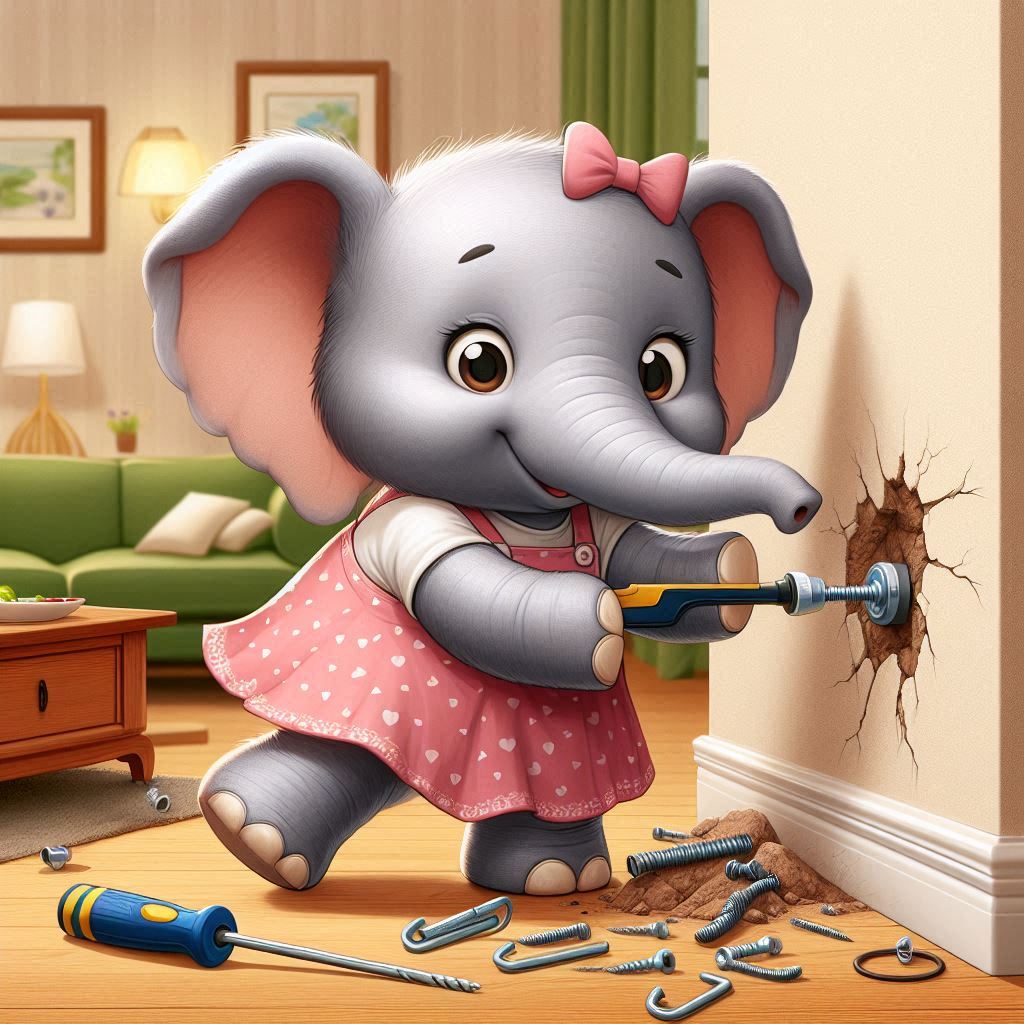
How to Remove a Wall Anchor Without Breaking the Drywall
Removing wall anchors can be a daunting task, especially if you want to preserve the integrity of your drywall. Whether you’ve changed your mind about hanging that picture or have opted for a different mounting solution, knowing how to properly remove wall anchors is essential to avoid unnecessary damage. Here’s a step-by-step guide on how to remove wall anchors without breaking the drywall.
Understanding Wall Anchors
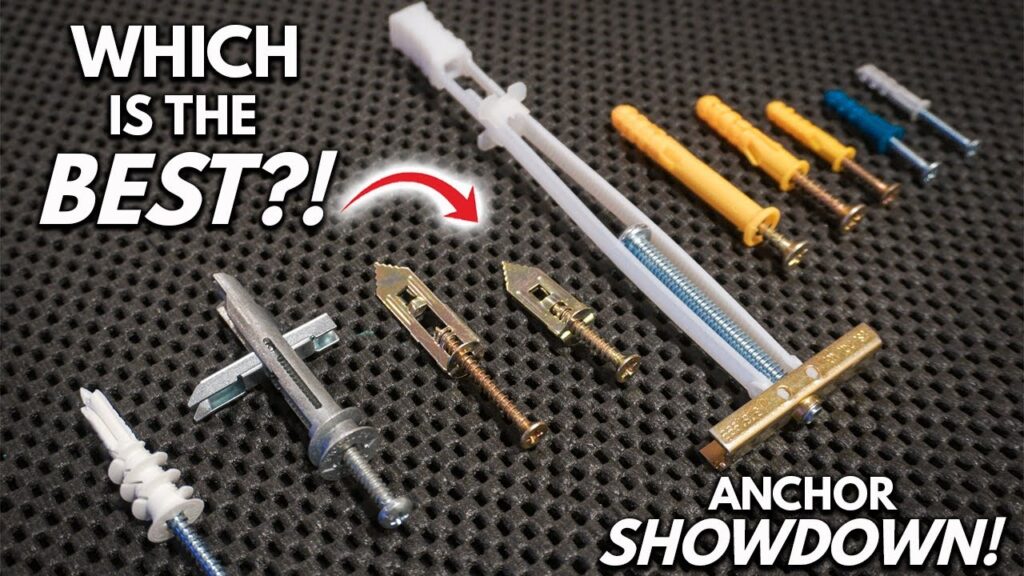
Before diving into the removal process, it’s important to understand what wall anchors are. They are devices used to support screws in drywall and provide extra holding power. Common types of wall anchors include plastic expansion anchors, toggle bolts, and metal anchors. Each type may require slightly different removal techniques.
Tools You’ll Need
To successfully remove a wall anchor, gather the following tools:
- A flathead screwdriver or a utility knife
- Pliers (if applicable)
- A drill with a bit that matches the anchor size (if necessary)
- Spackle or joint compound (for repairs)
- Sandpaper or a sanding sponge
- A putty knife
Step-by-Step Removal Process
1. Assess the Anchor Type
Identify the type of wall anchor you’re dealing with. Plastic expansion anchors are the easiest to remove, while toggle bolts may require more effort. Understanding the anchor type will help you choose the right method for removal.
2. Unscrew the Screw
Begin by removing the screw that is attached to the wall anchor. Use a screwdriver to carefully unscrew it. If the screw is stripped or stuck, consider using pliers to grip the screw head and turn it counterclockwise. Ensure that you remove the screw entirely without damaging the surrounding drywall.
3. Removing Plastic Expansion Anchors
For plastic expansion anchors, you can often simply pull them out by using a flathead screwdriver. Insert the screwdriver into the gap between the anchor and the drywall, and gently pry it out. If the anchor is resistant, you can also push it back into the wall slightly, which may loosen it. Once loosened, pull it out gently.
4. Removing Metal Anchors or Toggle Bolts
For metal anchors and toggle bolts, the process can be a bit trickier. First, unscrew the bolt until it’s free from the anchor. If the anchor has a toggle mechanism, you may need to push the anchor back into the wall while gripping the toggle. As the anchor moves, it should loosen its grip on the drywall.
If the anchor won’t budge, consider drilling a small hole in the anchor head to weaken it. Use a drill bit that is slightly larger than the anchor itself and drill carefully to avoid damaging the drywall.
5. Repairing the Wall
Once the anchor is removed, you may notice a hole or damage in the drywall. Don’t worry; this is easily fixable. Here’s how:
- Fill the Hole: Use spackle or joint compound to fill in the hole left by the anchor. Apply a small amount with a putty knife, smoothing it over to create an even surface.
- Allow to Dry: Let the spackle or joint compound dry completely according to the manufacturer’s instructions. This usually takes a few hours.
- Sand the Area: Once dry, use sandpaper or a sanding sponge to smooth the repaired area, blending it with the surrounding wall.
- Touch Up Paint: If necessary, touch up the area with paint that matches your wall color.
6. Final Touches
Inspect the area to ensure it’s smooth and free of any leftover debris. Clean up the workspace, and dispose of any removed anchors or screws properly.