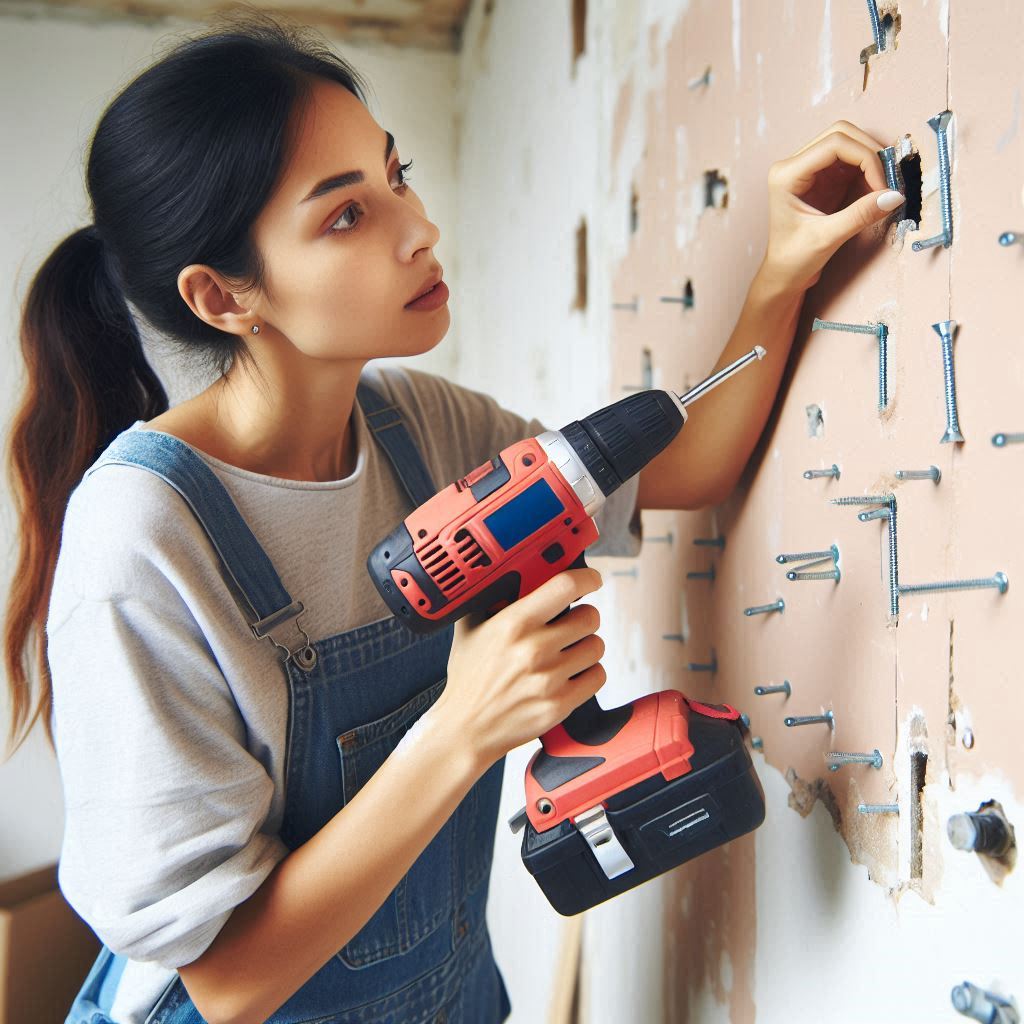
How to remove unused wall anchors and repair drywall?


Mounting items on your walls can transform a space, but what happens when you no longer need those wall anchors? Whether you’ve changed your decor, relocated your TV, or simply made a mistake during installation, removing unused wall anchors and repairing the drywall is essential for maintaining a neat and clean appearance in your home. In this guide, we’ll walk you through the steps to effectively remove wall anchors and repair your drywall, ensuring a smooth finish that blends seamlessly with your walls.
Before diving into the removal process, it’s important to understand what wall anchors are and how they work. Wall anchors are hardware devices designed to provide support when hanging items on walls, especially in drywall where standard screws may not hold securely. They come in various types, including:
Before you start, gather the following tools and materials:
First, determine what type of wall anchor you are dealing with. This will dictate your removal approach:
Plastic Expansion Anchors: These can usually be pulled out with pliers.
Toggle Bolts: These will require more effort, as you’ll need to remove the screw first, then pull out the toggle through the hole.
Molly Bolts: These may need to be removed by pushing the anchor into the wall and pulling it out.
If your wall anchor has a screw attached, start by unscrewing it. Use a screwdriver or drill to carefully remove the screw from the anchor. Once the screw is out, you can focus on the anchor itself.
For Plastic Expansion Anchors: Use pliers to grip the anchor and pull it straight out. If it’s stubborn, you can gently wiggle it while pulling.
For Toggle Bolts: Once the screw is removed, gently pull the anchor out by holding the toggle part and pulling straight out. If it doesn’t budge, you may need to use a utility knife to cut away a small portion of the drywall around it.
For Molly Bolts: Push the anchor into the wall cavity and pull it out with pliers. Alternatively, you can twist it while pulling to help remove it from the drywall.
Once the anchor is removed, you’ll likely have a hole in your drywall. Use a utility knife to trim any rough edges around the hole. This ensures a smoother repair later. Remove any dust or debris with a clean cloth or sponge.
After cleaning the hole, it’s time to fill it:
Choose Your Filler: For small holes (less than 1/2 inch), use spackle or a lightweight drywall patching compound. For larger holes, you may need a drywall patch.
Apply the Filler: Use a putty knife to apply the spackle or patching compound into the hole. Press firmly to ensure it fills the hole completely. Smooth the surface as much as possible, feathering the edges to blend with the wall.
Let the filler dry completely according to the manufacturer’s instructions. This usually takes a few hours, but for best results, overnight drying is recommended.
Once the filler is dry, use fine-grit sandpaper to gently sand the surface until it is smooth and level with the surrounding wall. Be careful not to sand too much, as this can damage the surrounding drywall.
To ensure the repair blends in seamlessly, prime the patched area with a suitable primer, especially if you’ve used a large amount of filler. Once the primer is dry, paint over it with the same color as the surrounding wall. You may need to apply a couple of coats for complete coverage.
Removing unused wall anchors and repairing drywall is a straightforward process that can significantly enhance the appearance of your walls. With the right tools and techniques, you can achieve a professional-looking repair that blends seamlessly with your decor. Whether you’re preparing for a new mounting project or just tidying up, these steps will help you keep your home looking its best. Enjoy your newfound wall space!
Struggling to find metal studs in your wall? 🤔 Stop guessing and try the metal stud finder tool we use! This easy-to-use, precise tool will save you time and frustration by accurately locating metal studs behind drywall. Whether you're mounting a TV or installing shelves, ensuring a secure hold starts with finding the right stud. Say goodbye to tapping and hello to effortless, reliable results. Make your next DIY project a success with the right tools!
Looking for the strongest and easiest-to-use wall anchors? Look no further than Elephant Anchors! Designed for maximum strength and easy installation, these anchors can hold up to 200 lbs, making them perfect for mounting TVs, shelves, and more. With a simple, tool-free installation process, you can secure heavy items on drywall or plasterboard in minutes. Say goodbye to weak, unreliable anchors and trust Elephant Anchors for a secure, long-lasting hold on your walls!
When choosing between drywall and tiled walls, consider your needs and budget. Drywall is cost-effective, easy to install, and versatile, but less durable in moist areas. Tiled walls offer superior durability, aesthetic appeal, and moisture resistance, making them ideal for bathrooms and kitchens. While more expensive and complex to install, their long-term benefits often outweigh the higher initial costs. Choose based on the specific requirements of your space and maintenance preferences.