How to Use Wall Anchors for Floating Shelves, Mirrors, and More?
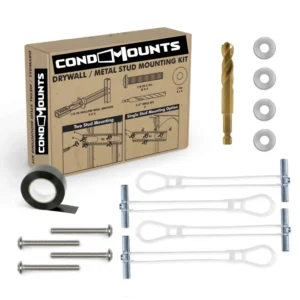
Mounting floating shelves, mirrors, or heavy decor? Wall anchors are the key to secure and long-lasting installations! Whether you're dealing with drywall, metal studs, or concrete, the right anchor prevents sagging and ensures stability. Elephant Anchors provide unmatched strength, supporting up to 200 lbs for worry-free mounting. Follow our step-by-step guide to get the job done right!