Elephant Anchor

How to mount a TV on metal stud wall?

In this blog post, we’ll guide you through the steps to mount your TV on a metal stud wall using this premium mount.

Mounting a TV on a metal stud wall can seem daunting, but with the right tools and guidance, it’s a straightforward process. The Elephant Anchors Metal Stud Advance Tilt TV Mount is designed specifically for this purpose, offering a secure, versatile, and easy-to-install solution. 

Why Choose the Elephant Anchors Metal Stud Advance Tilt TV Mount?

Before we dive into the installation process, let’s explore why the Elephant Anchors Metal Stud Advance Tilt TV Mount is the ideal choice for your metal stud wall. Traditional TV mounts often fall short when it comes to metal studs, as they require specific anchors and hardware to ensure stability. This mount eliminates the guesswork by providing everything you need for a secure installation.

Here’s what makes it stand out:

Designed for Metal Studs
This mount comes with metal stud mounting anchors, heavy-duty toggle bolts, and screws, making it perfect for metal stud walls. Say goodbye to the frustration of trying to find the right hardware at the last minute.

Advanced Tilt Functionality
With a tilt range of up to 10 degrees, this mount helps reduce glare and enhances your viewing experience. The ability to tilt your TV ensures optimal viewing from any angle.

Easy Cable Access
The mount extends up to 5.2 inches from the wall and swivels up to 5 degrees left and right, allowing you to easily access cables and make device switches.

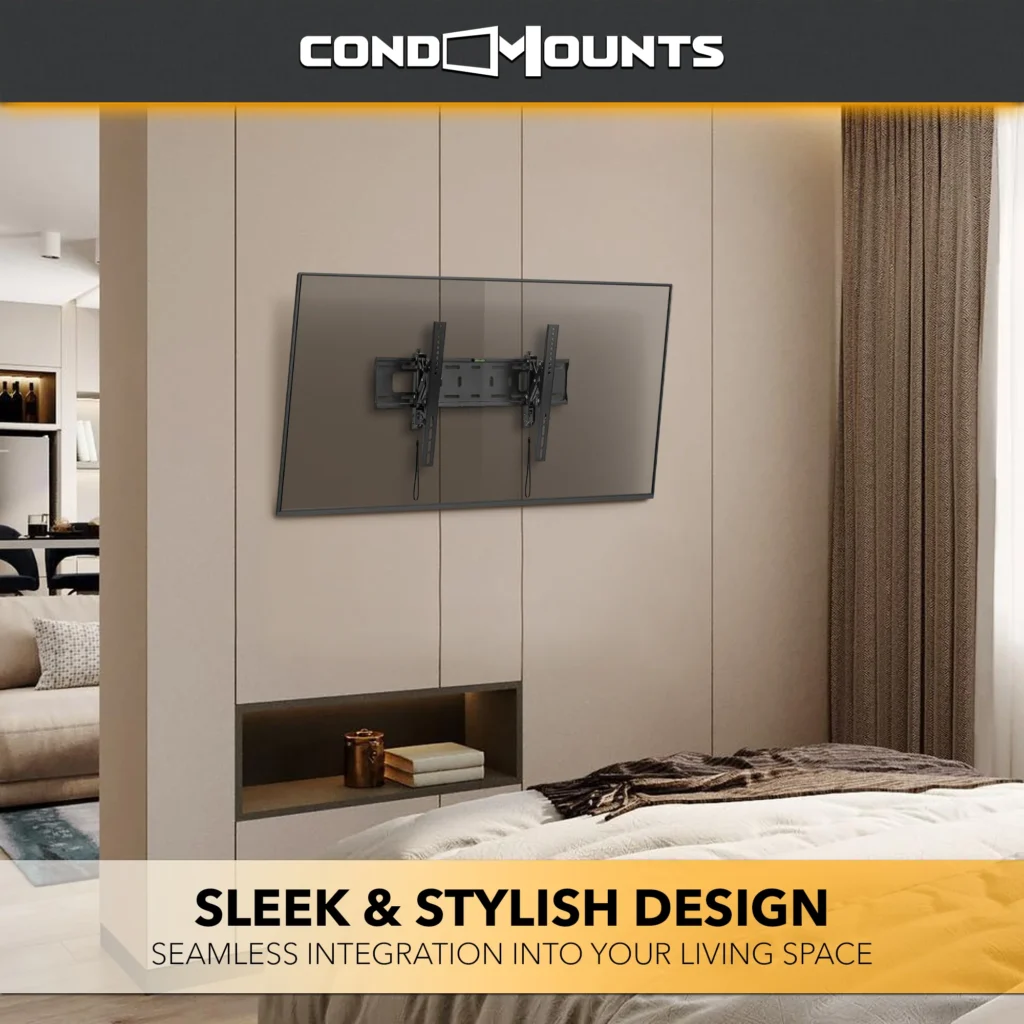
Sleek and Sturdy Design
Crafted from premium steel, this mount supports TVs up to 100 lbs, combining durability with a sleek, low-profile design that keeps your TV just 5.2 inches from the wall.

Step-by-Step Guide to Mounting Your TV

Step 1: Gather Your Tools and Materials

Before starting, ensure you have the following:

  • Elephant Anchors Metal Stud Advance Tilt TV Mount
  • Stud finder
  • Power drill
  • Level
  • Tape measure
  • Pencil
  • Screwdriver
  • Safety goggles


Step 2: Locate the Metal Studs

Use a stud finder to locate the metal studs in your wall. Metal studs are typically spaced 16, 21, or 24 inches apart. Mark the center of each stud with a pencil.


Step 3: Mark the Mounting Holes

Hold the wall plate of the TV mount against the wall, aligning it with the marked studs. Use a level to ensure it’s straight, then mark the locations of the mounting holes on the wall.


Step 4: Drill the Pilot Holes

Put on your safety goggles and use a power drill to create pilot holes at the marked locations. These holes will guide the toggle bolts into the metal studs.


Step 5: Install the Toggle Bolts

Insert the provided toggle bolts through the holes in the wall plate, then push them into the pilot holes. Once the toggle bolts are in place, tighten them with a screwdriver until the wall plate is securely attached to the wall.


Step 6: Attach the TV to the Mount

With the wall plate securely in place, it’s time to attach the brackets to the back of your TV. Follow the instructions provided with the mount to ensure the brackets are correctly positioned. Once attached, lift the TV and carefully hook the brackets onto the wall plate.


Step 7: Adjust and Secure

After mounting the TV, check that it’s level and adjust the tilt and swivel to your preferred viewing angle. Finally, tighten the safety screws to keep the TV securely in place.

Enjoy Your New Setup

With your TV securely mounted on your metal stud wall, you can now sit back and enjoy your favorite shows with a perfect viewing angle and clutter-free space. The Elephant Anchors Metal Stud Advance Tilt TV Mount not only ensures a safe and stable installation but also enhances your viewing experience with its advanced features.

Whether you’re mounting your TV in a living room, bedroom, or home theater, this mount is the perfect choice for metal stud walls. Don’t settle for less when you can have a sleek, durable, and functional TV mount that meets all your needs.


Leave a Reply

Your email address will not be published. Required fields are marked *